We were lucky to score an OEM bumper off of a Gen 1 Raptor, and figured it would be a great way to eliminate some of the rubbing we had on our 2014 F150 with the 35in tires. Yes, you need to cut and weld the Raptor bumper to fit it on your F150, but it really isn’t that hard if you have the tools. You don’t need anything else other than the bed liner we used (we tried the Rustoleum Truck Bed Pro Grade on the bumper and were really happy with the relatively smooth matte finish which has been durable enough to take a beating off-road)
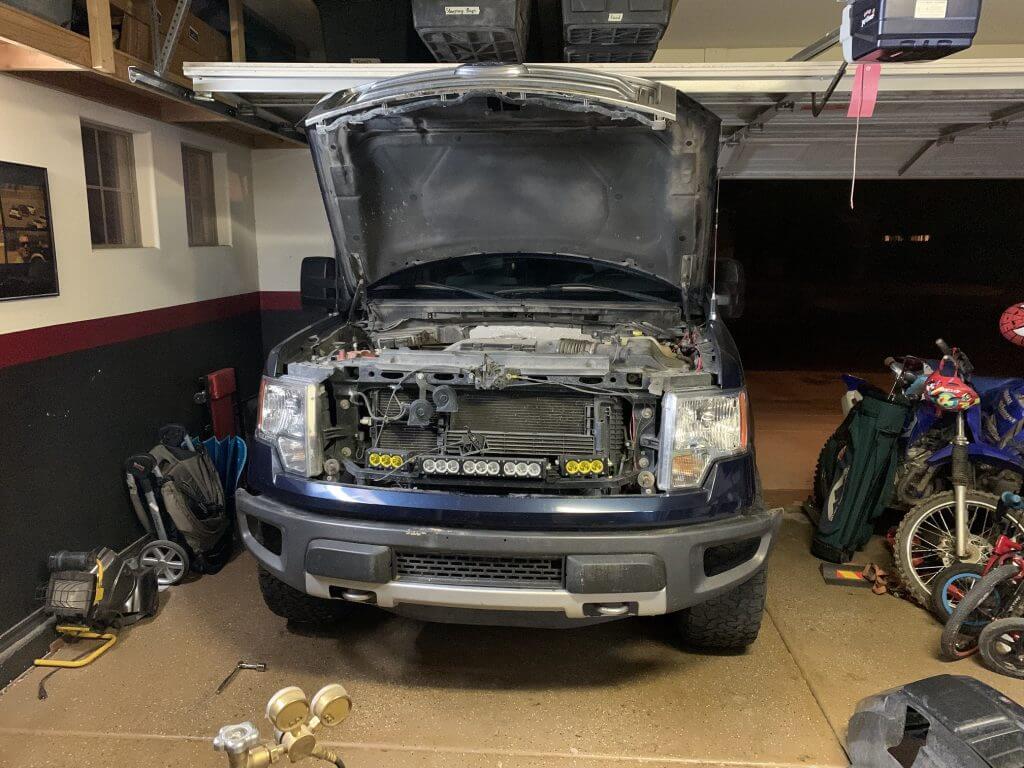
First thing first… the raptor is obviously wider, but the mounting points bolt right up. So put it on, and take a look at your canvas.
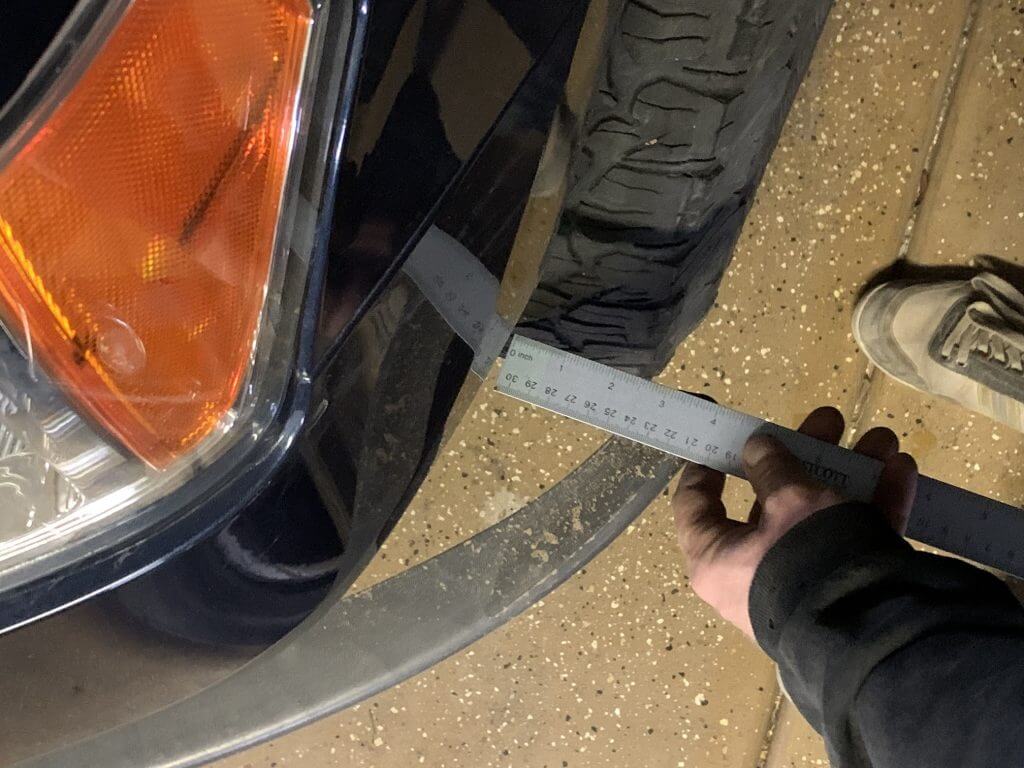
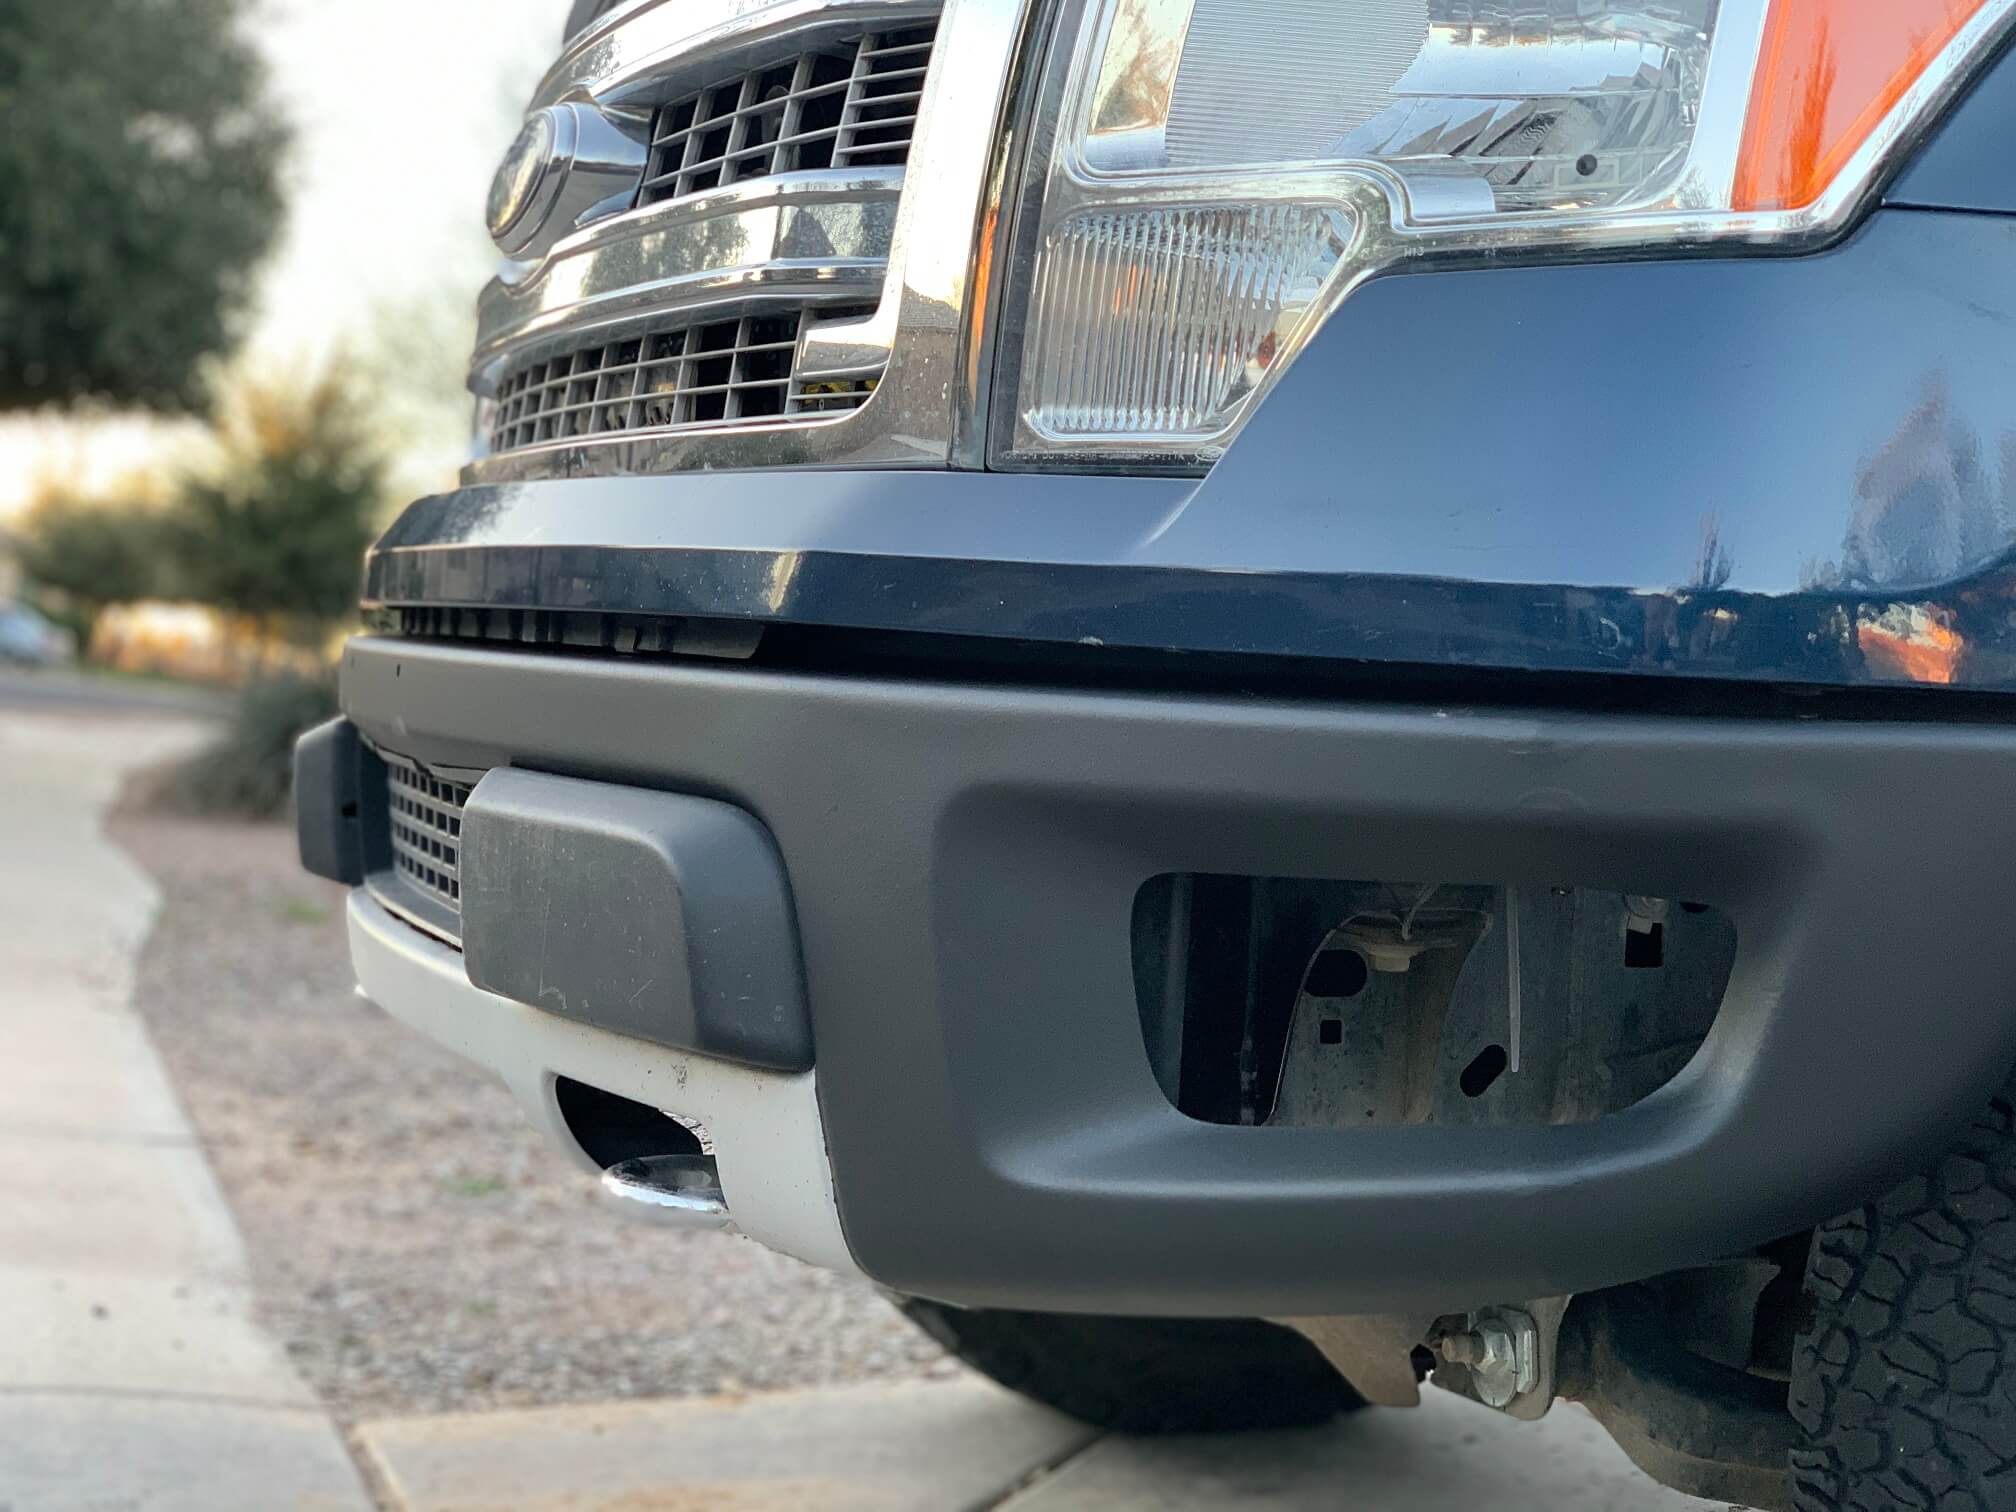
How much wider is the Ford Raptor bumper than then F150? 4 inches. The Raptor bumper is 4 inches per side wider than the standard F150, so this is what we’ll be working on.
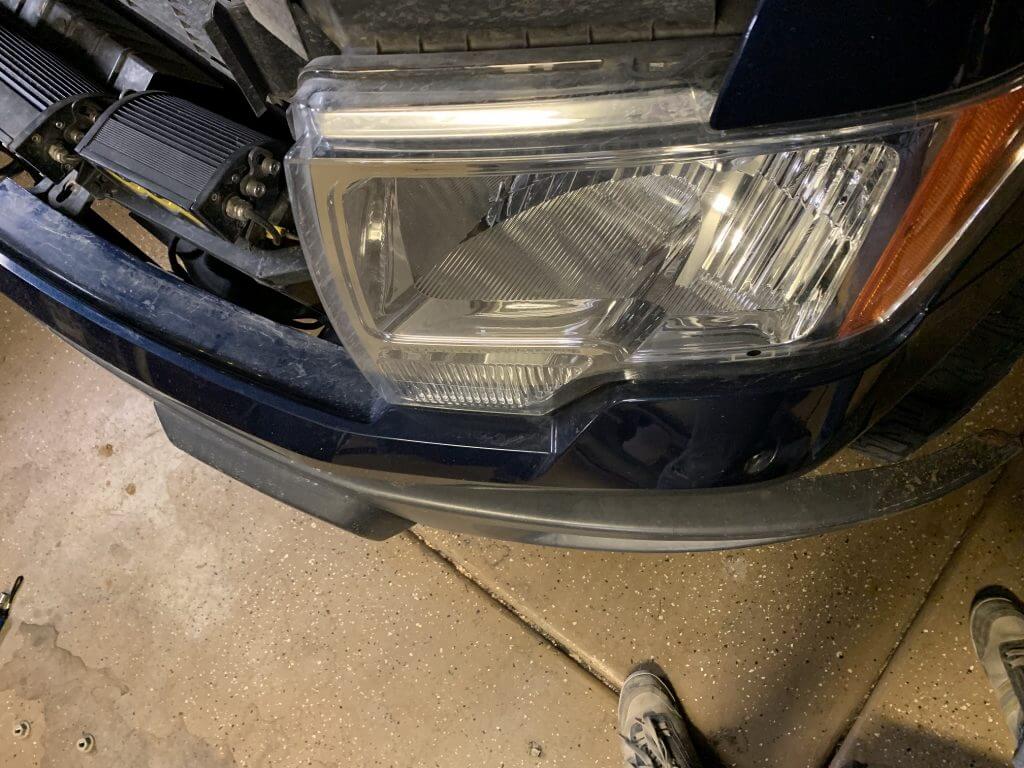
Another thing to note, is that the Raptor has a slightly different contour than the F150. We deemed this a minor deviation and didn’t really worry about it.
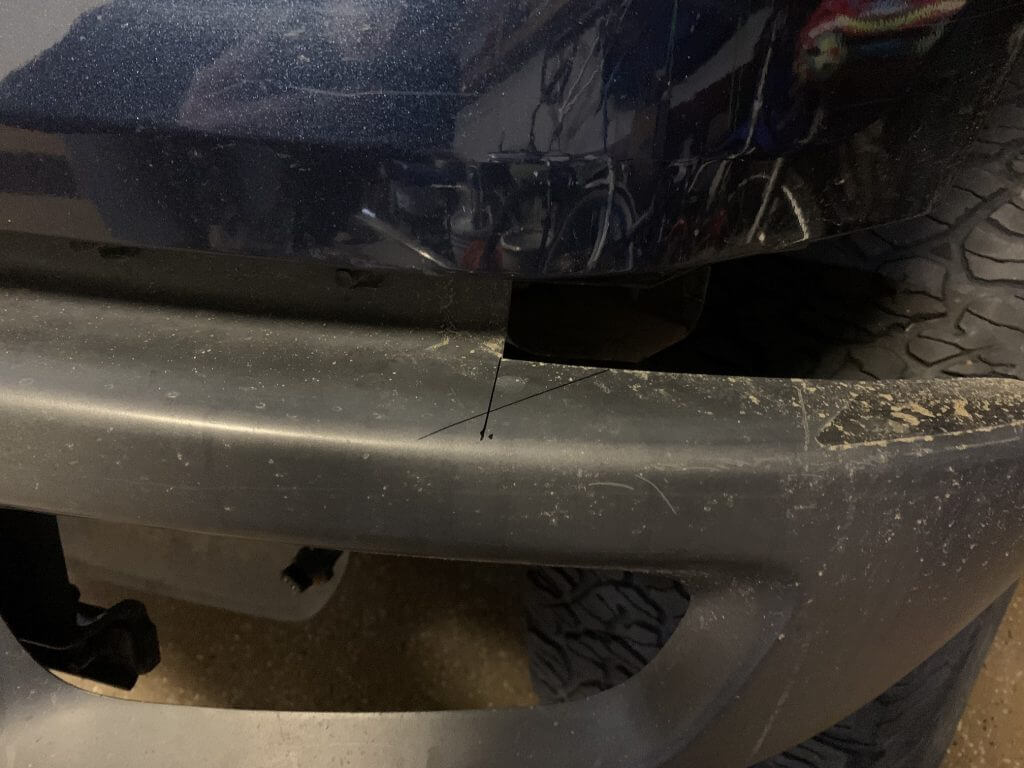
We sketched up a few lines that we thought would be helpful, disregard the diagonal one, it ended up being unused, however, the perpendicular one is what you;ll need to use for one of the cuts, it basically continues right from the vertical tab edge.
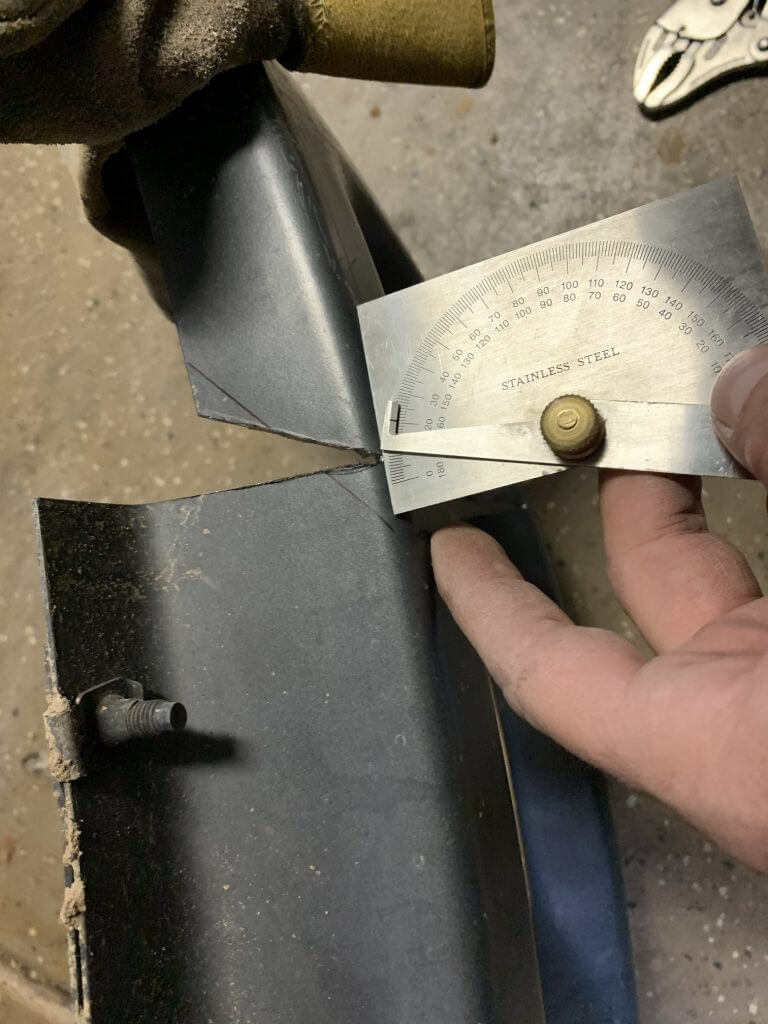
You will want to make an angled cut at 20°, feel free to adjust your cut as you feel looks best though.
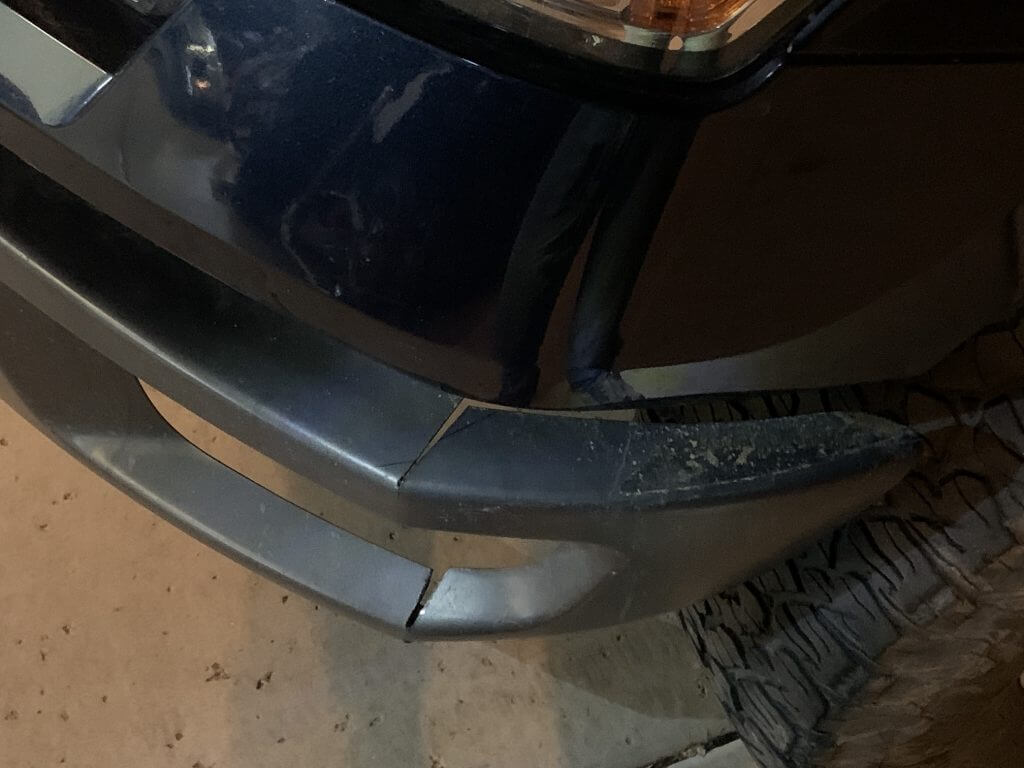
The bumper bends really easily once the cuts are made, so just give it a push to where you feel it looks best.
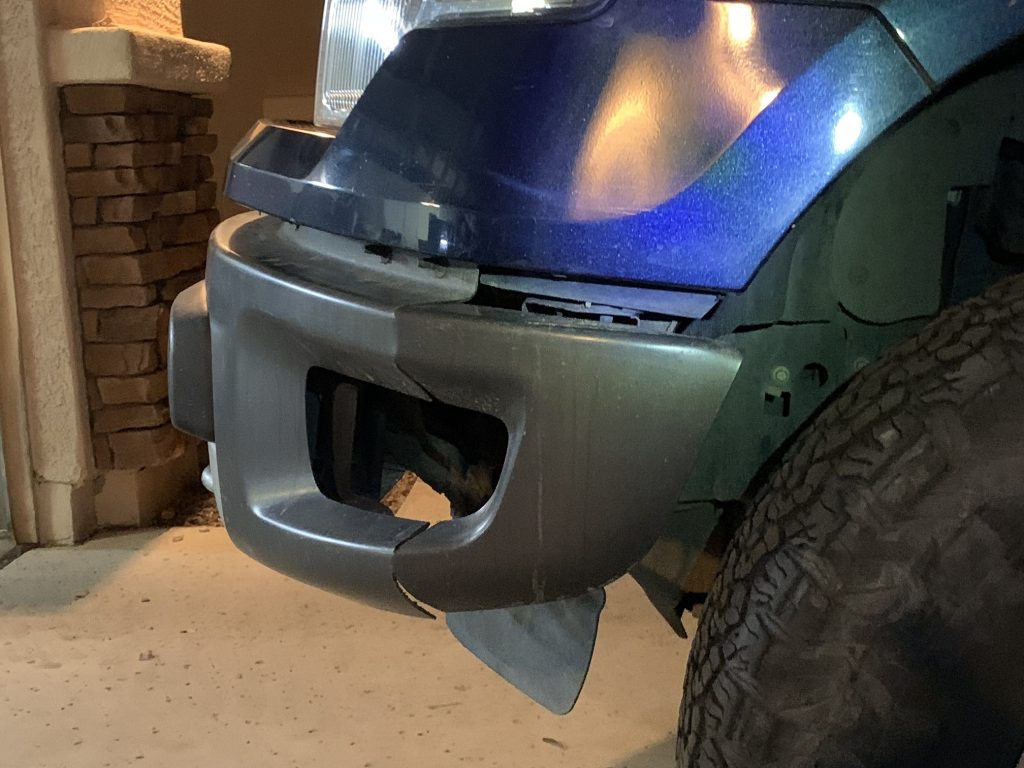
Another view of the bent raptor bumper ends… you’ll want to massage the bottom a bit to make the faces line up. Once it looks good, just pull the trigger on the welder and go for it!
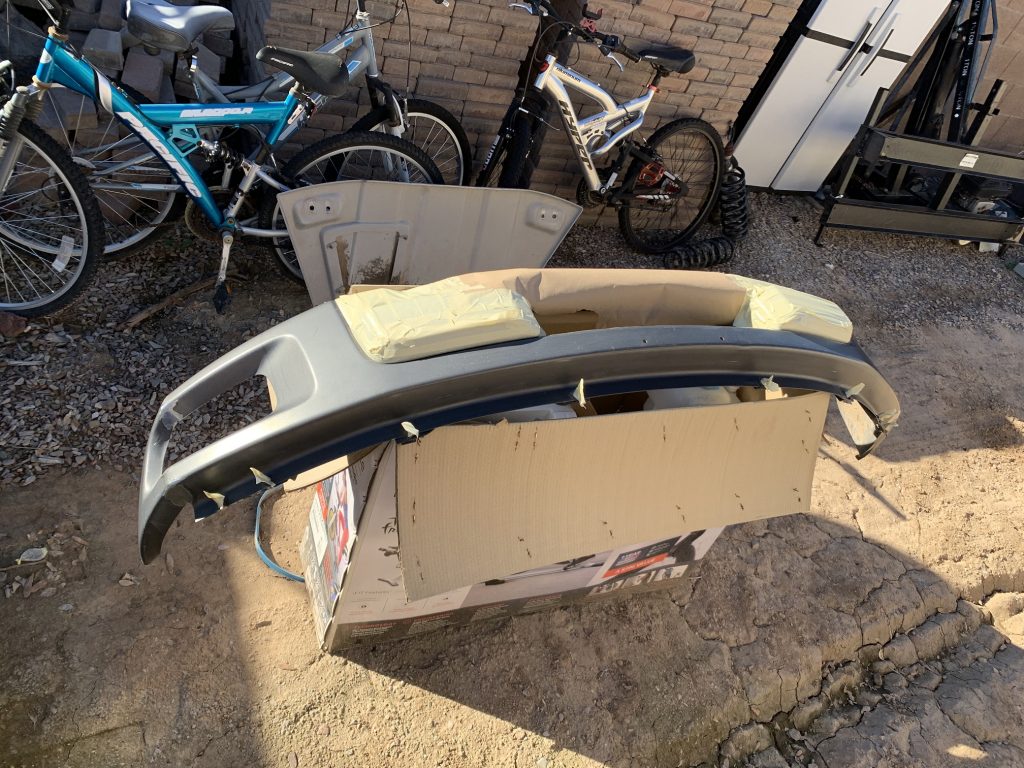
Once everything is welded up, grind the front face smooth, and get everything ready for paint. As mentioned before, the Rustoleum Truck Bed Pro Grade was really good for painting the bumper. Just follow the instructions on the can, and the result is awesome.
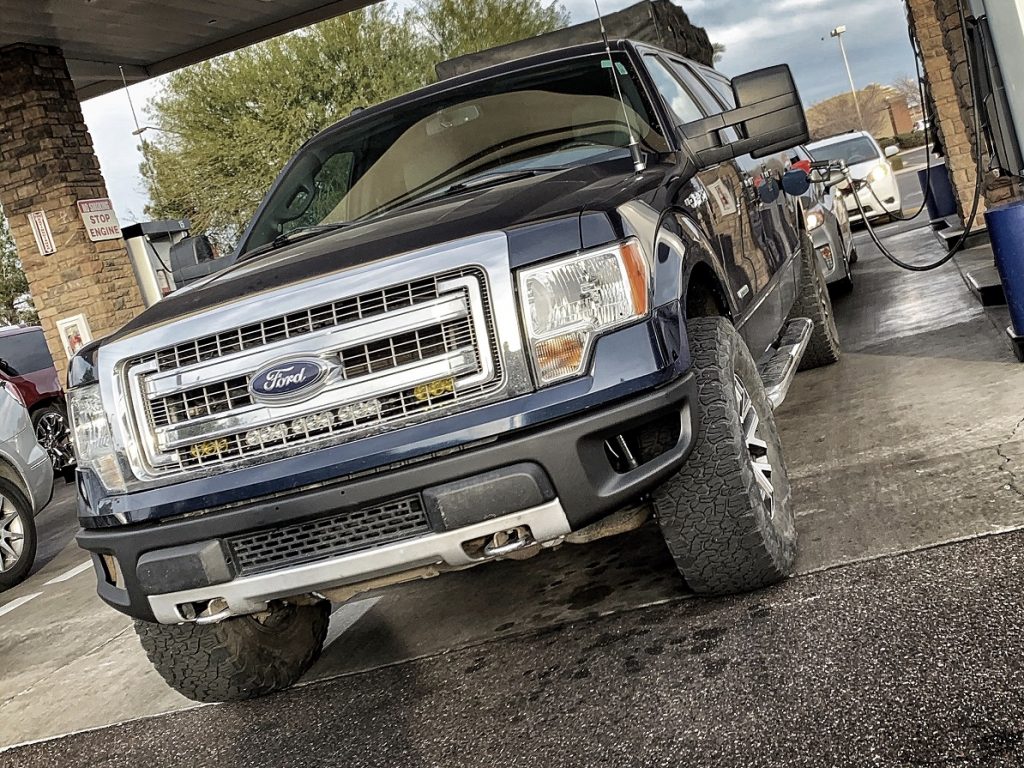
There you have it! Our 2014 F150 with a genuine OEM Ford Raptor bumper installed! Hope this helps!

May 18, 2021 at 8:42 pm
Love to see some side by side before and after. I have a 2012 f150 platinum and slowly trying to convert to a “mini” raptor look. Love this conversion.
May 19, 2021 at 1:42 pm
We sold that truck so can’t get any other photos, hopefully the ones in the article give you enough perspective of the raptor bumper compared to the OEM f150 setup.
July 22, 2021 at 7:26 pm
Do they make a raptor style grill to fit on the 2004 Ford F150 lariat
July 24, 2021 at 9:55 am
Here’s a link to one I found on amazon https://amzn.to/3x0Y2Tx pretty sure it should work, but double check yourself.
July 17, 2022 at 8:10 pm
Seriously you guys are the best for doing this write up dad and uncle and I are tackling it this weekend.
Quick questions is the gap in the last photo and 3rd from last photo (side) the same gap? Just trying to see how much gap I’m going to have and have to deal with.
Thanks for all your help just didn’t know if that 3rd to last was all the way flush mounted.
August 2, 2022 at 11:13 am
Glad it helps, the 3rd to last photo is not fully bolted to the mounts, the final gap will be more like the top header image (in the driveway) or the last image (gas station). the gap is the same as the OEM raptor, you want to have some space there because the bumper is so thin it actually wiggles a good bit, and you don’t want that rubbing on your fenders.
October 7, 2022 at 4:33 pm
Not sure if you keep updating this thread but as I mentioned This is the greats write up ever and I’d love to add my two cents just completing this on a 2011 F-150
Notes:
Top cut can be made at 18 degrees helps narrow your gap
Bottom can be made at 15 degrees
The raptor mounts do work. But if you take the extra 15 mins and swap out your brackets there is a slight difference and it really helps with the gaping issue under the truck.
If you are interested in posting more photos on here happy to send mine! Again this was so easy and worked so well thank you so much such a fun project to do with my dad and uncle